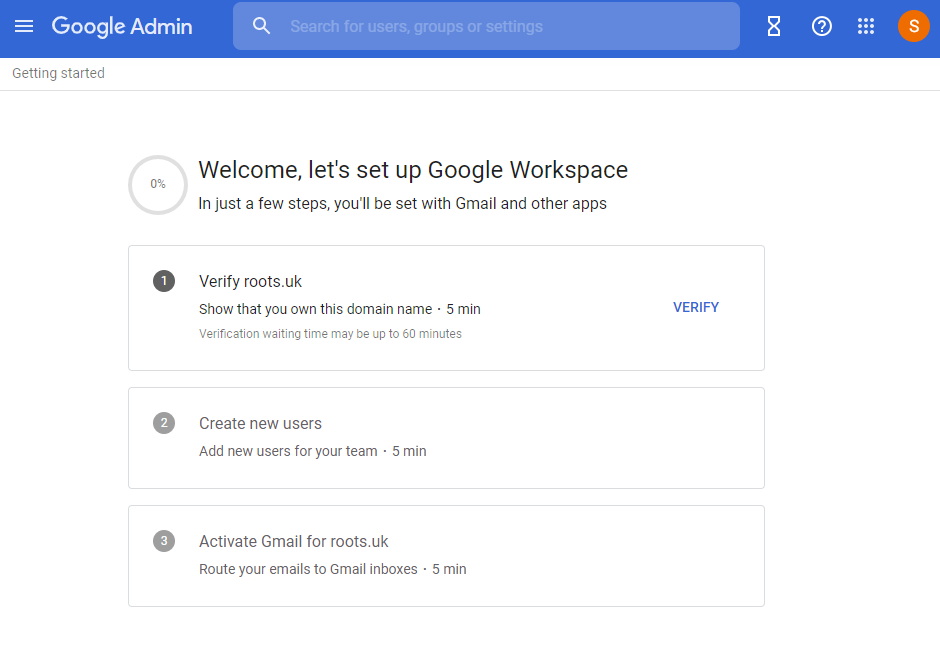
Now to set up and enforce 2FA (Two Factor Authentication) for all users in my new domain. First I want to make sure it is active and working for me!
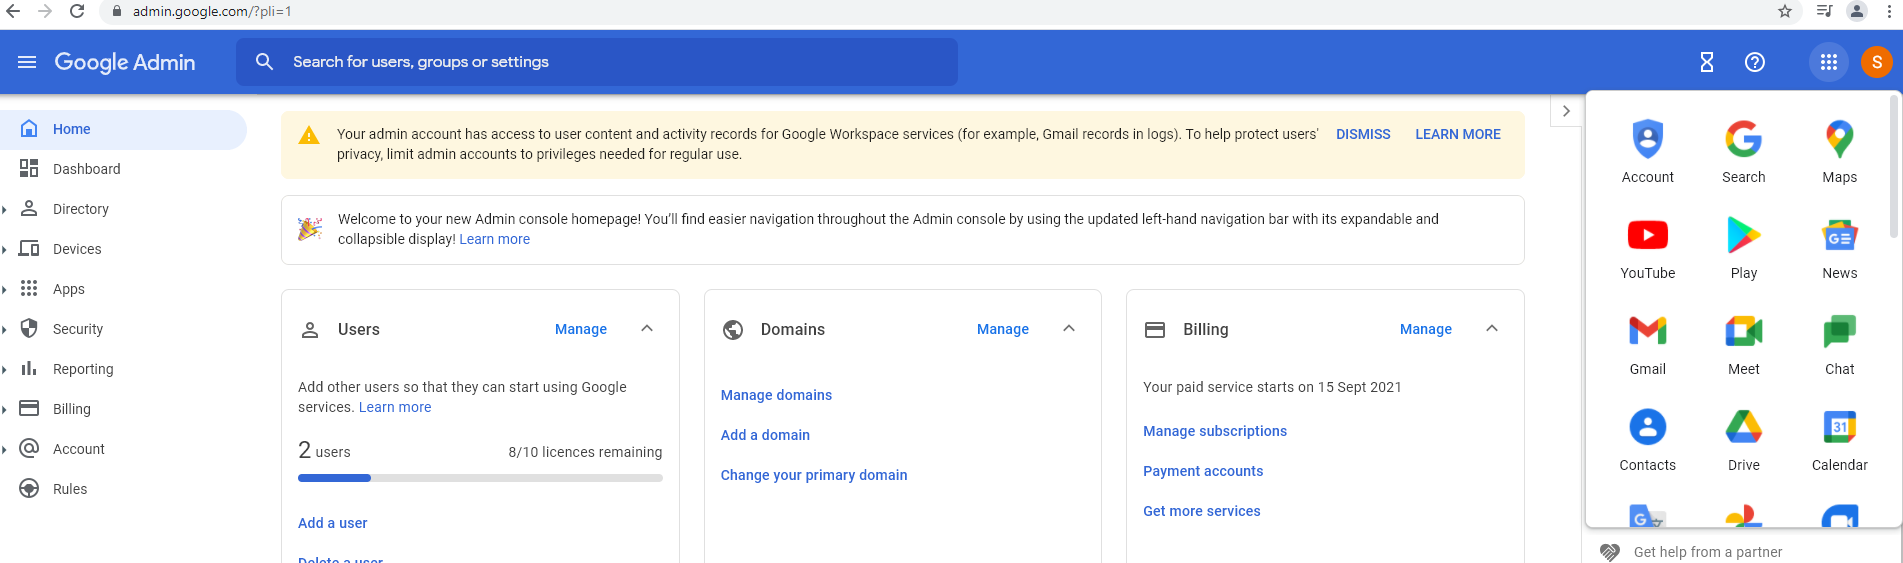
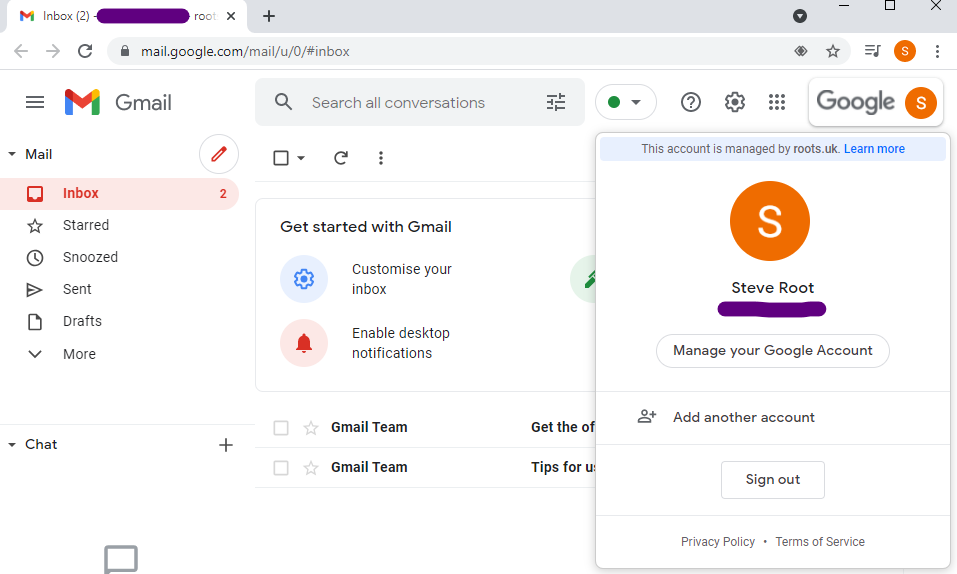
In Gmail, clicking the “S” at the top right, which comes from my name Steve, opens a box with an option to “Manage your Google Account”
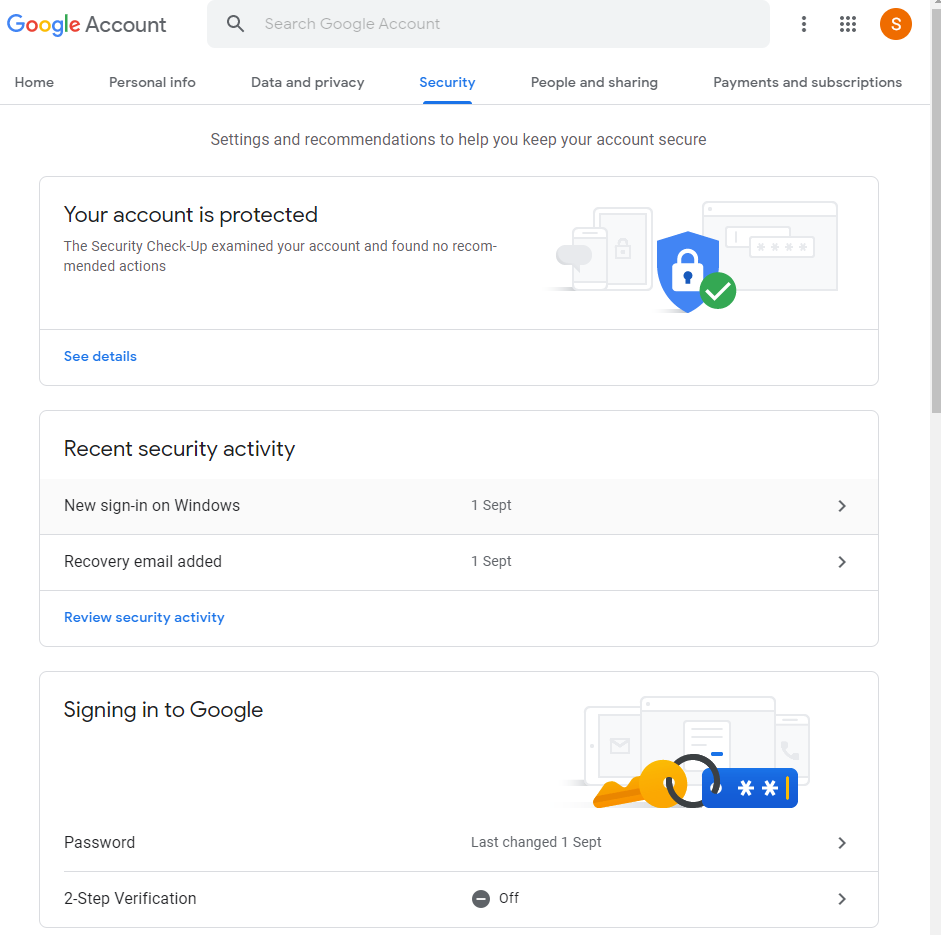
In the next page I select Security and then the right arrow allong from “2 Step verification”
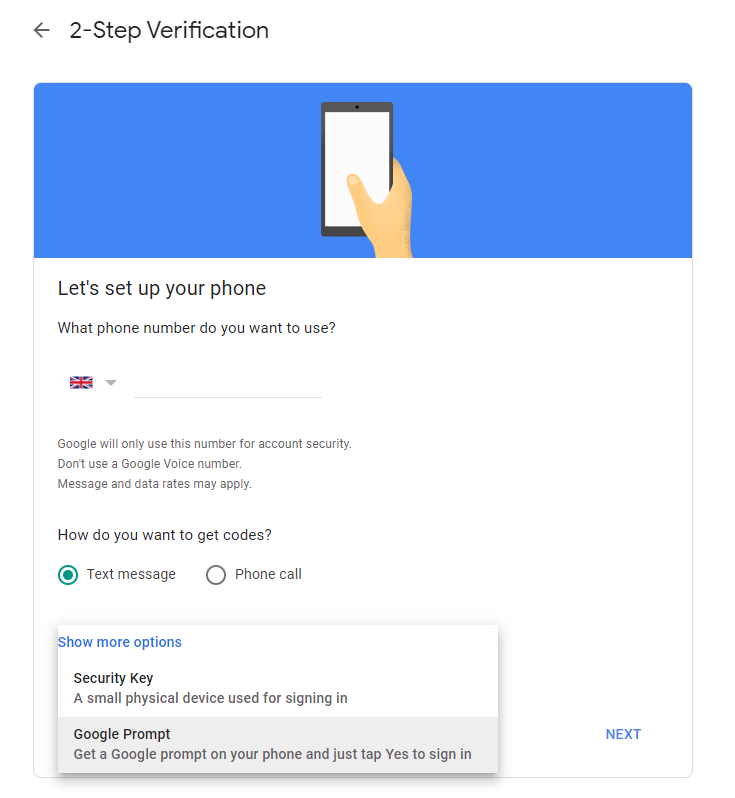
The default is to get an SMS message or phone call but I don’t want that. I want to use “Google Prompt” which is an app built into my Android phone and I think it also works on iPhones too. SMS can be compromised so Security Keys or prompts are the way to go. I think my android phone can also act as a security key too, but the prompt has always worked well for me.
I need to select “show more options”
My device isn’t shown, so the link “Don’t see your device”.
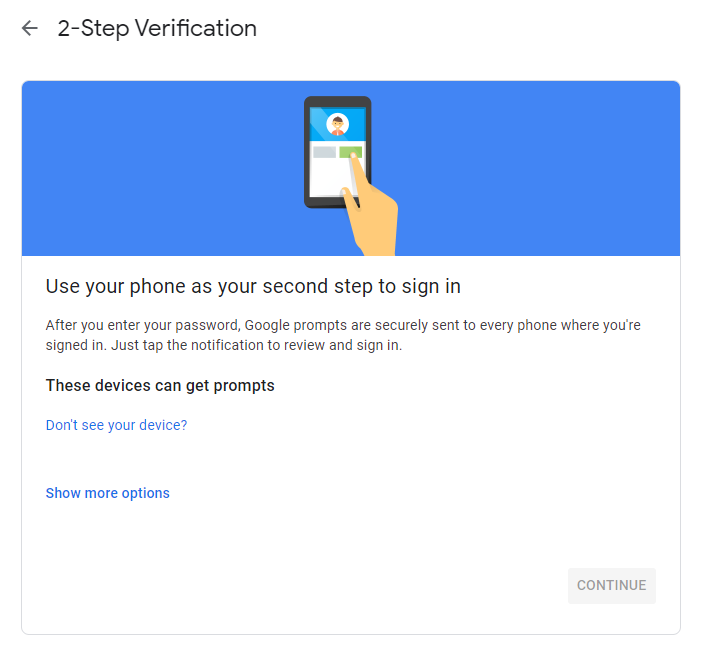
and this tells me I need to login to my new Workspace account from my phone for it to be seen, so I’ll go to my phone and do that.

On android I do this by going Settings > Accounts > Add Account > Google
(you can have more than one google account linked to your phone)
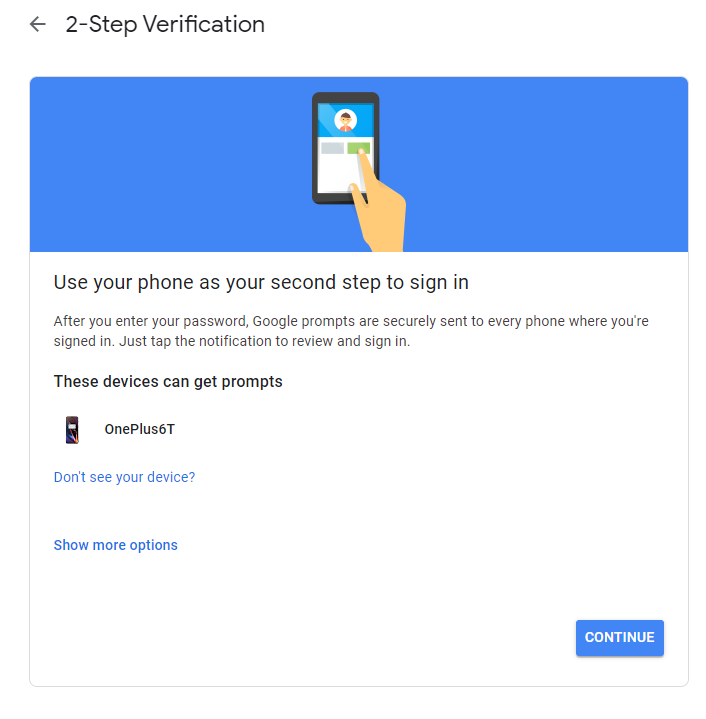
My new email address and password are entered and it takes 30 seconds or so to login and set itself up. Once that’s done, I click the “Try Again” link and my phone appears. Yes it’s an old phone (2 and a half years!) and yes I’m looking to update it but only because the charging port is slightly loose. Can you imagine how long it takes me to pick a new phone? !!
click Continue
It wants a backup option, and is asking for a phone number again. I’m going with this though deep down I think the current security wisdom is not to allow SMS resets.
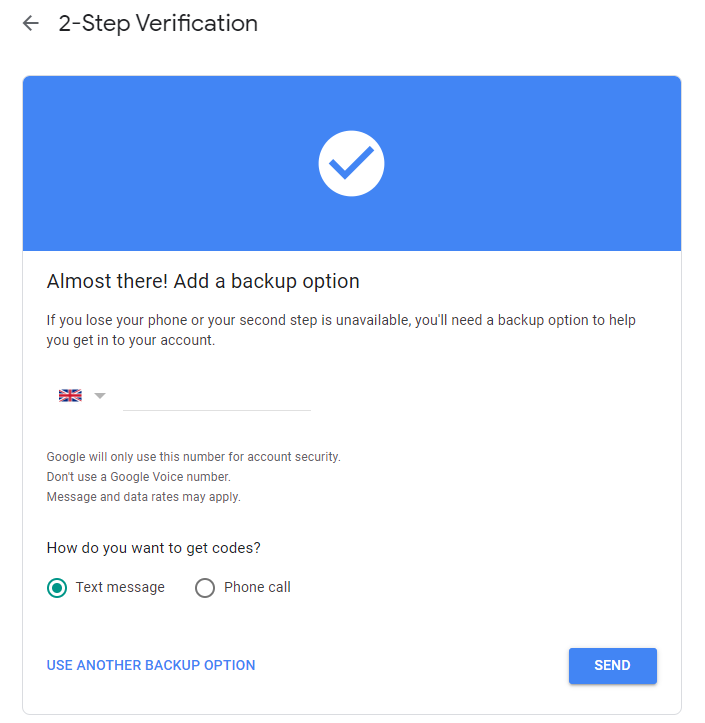
Enter the confirmation code that came by text message
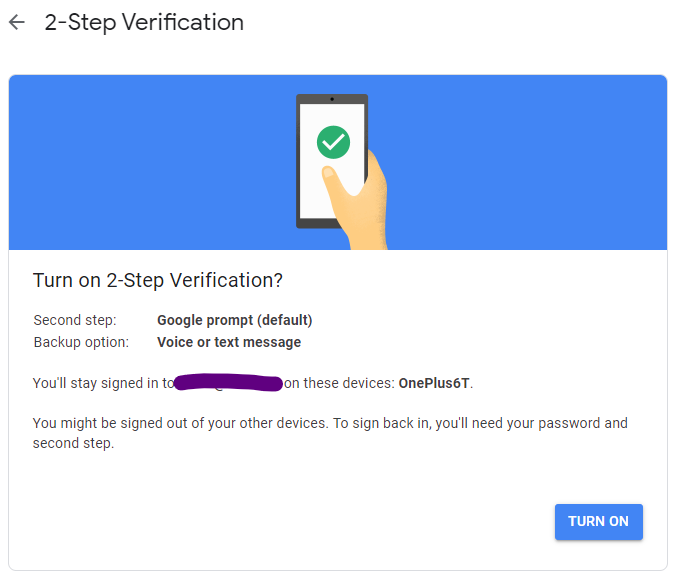
and “Turn on”
So that should be working and the confirmation screen gives me more options.
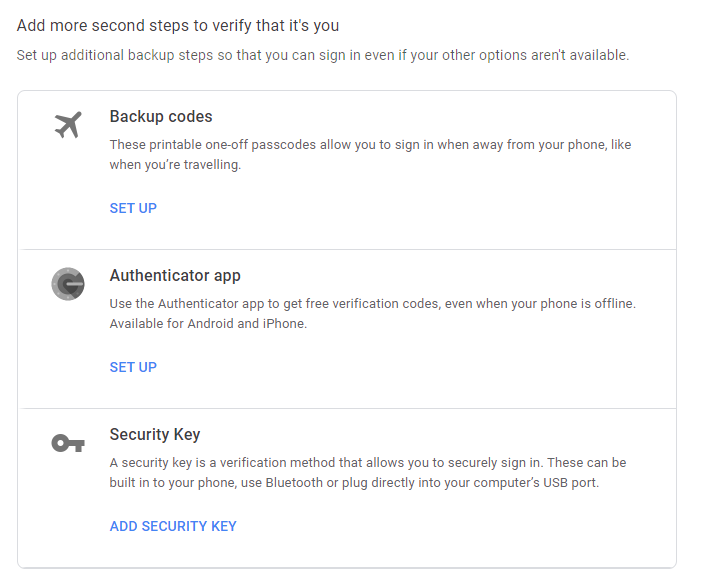
First, I generate the backup codes. These can be printed and put somewhere safe for the event you lose your phone and can’t use the Prompt or SMS methods. Perhaps keep them in your wallet. If you’re worried about losing your wallet and someone logging into your account using these backup codes then you can encrypt them with your own secret algorithm. Add 1 to the first and last digit.
Second, I set up an authenticator app. I used to use Google Authenticator but I had a problem once where a factory reset of my phone meant I lost access to the Generator. Now I use 1password which includes a generator. As long as I can get into 1password I can always get to the Authenticator codes.
Finally, I tried the security key but that doesn’t work for me as a I don’t have one 🙂 I thought my phone might act as one but I was prompted for Windows to look for one connected by USB. Maybe one day I’ll add that approach too. I think a hardware security key that can be on my keyring and work separate to my phone and wallet may be a useful backup method
Now to log out, log in and see if I’m prompted for a code:
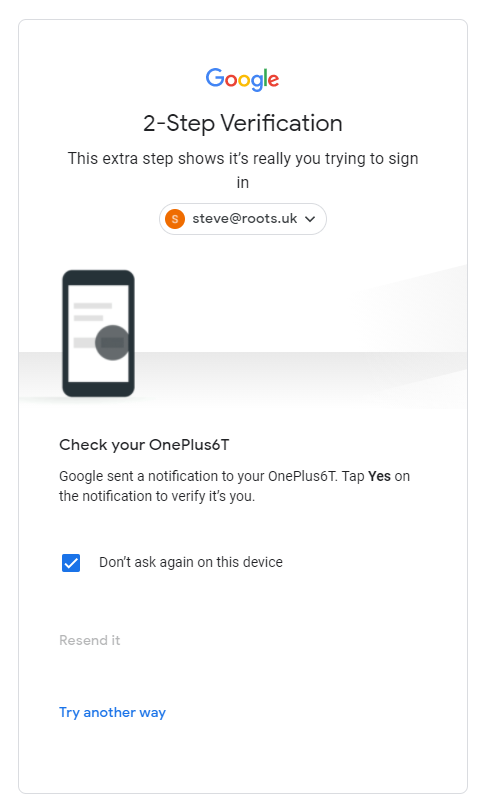
and yes I was. All is good and secure.
Not to enforce 2FA as a requirement across all users.
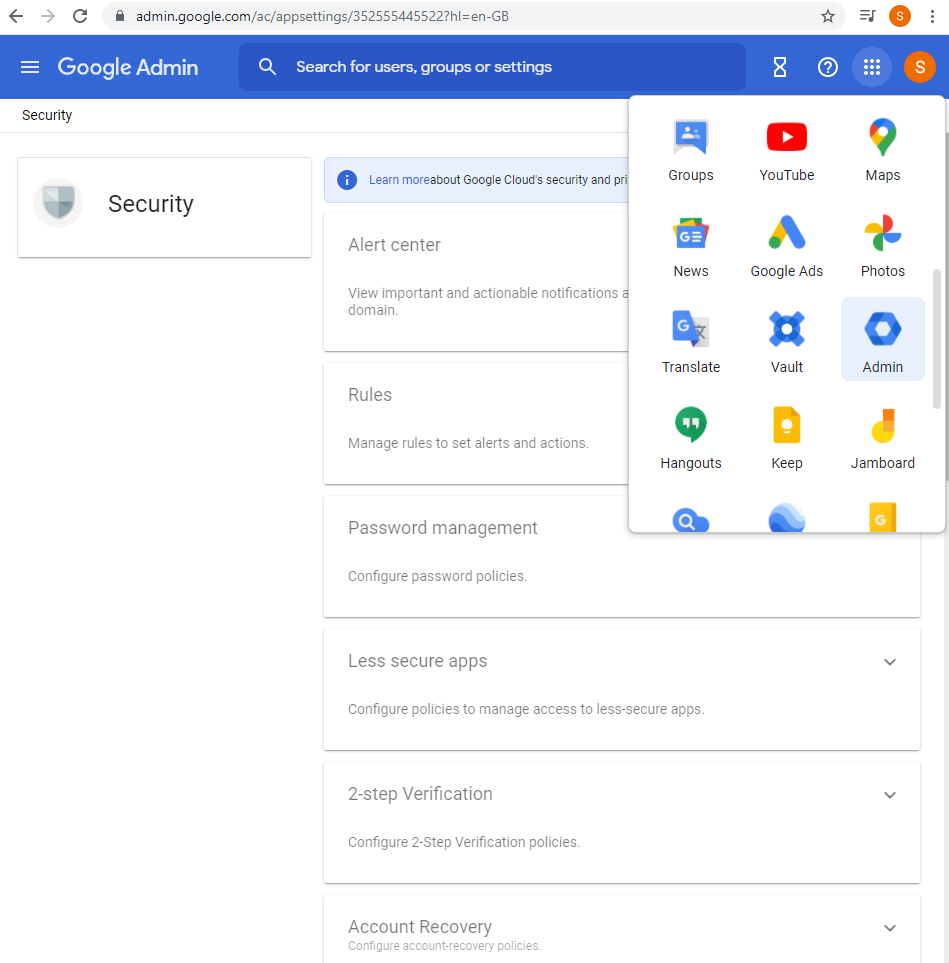
The 9 dots top right > Admin > Security > 2-Step Verification
Maybe I’m bit too worried about security, but these are the settings I’ve chosen for my users.
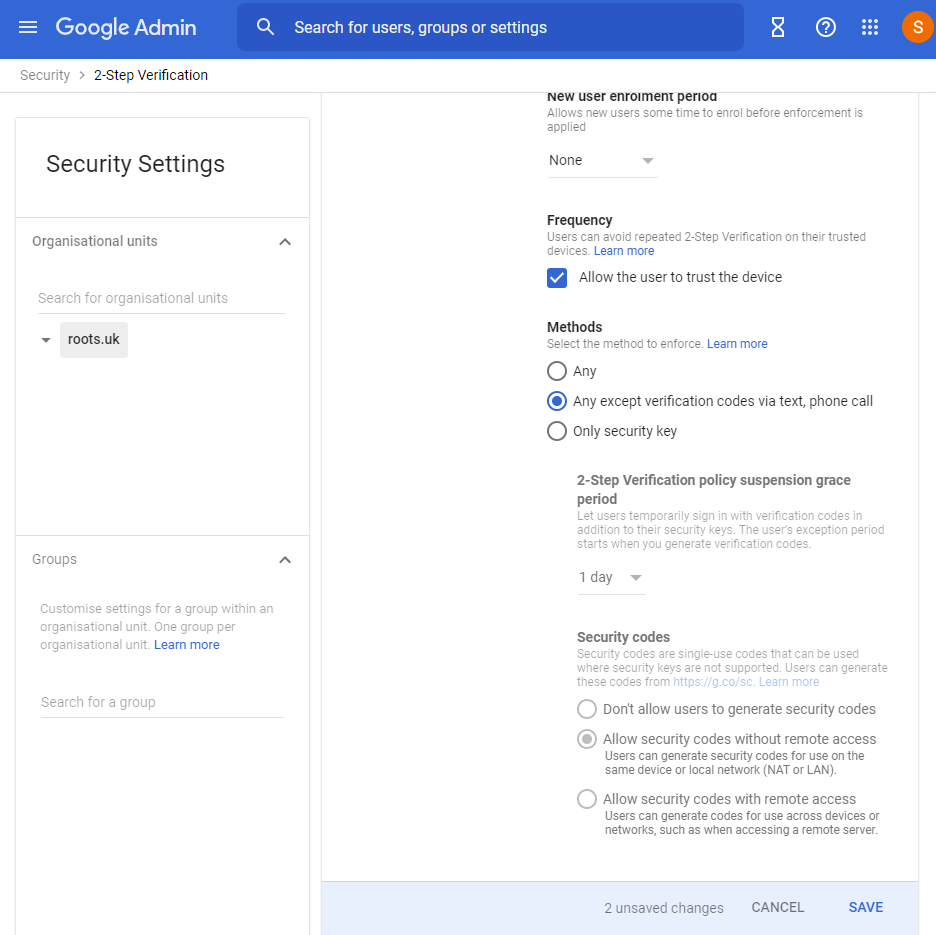
- 2FA is turned on from now
- There is no grace period for new ysers
- They can trust the device once they’re logged in. I think google still prompts every 30 days.
- They can’t get verification codes by SMS message of phone calls. SMS is not secure and we are all vulnerable to SIM Swapping (that’s a link to youtube video that explains it well. She also covers a lot of security related topics with great advice for geeks and non geeks alike).
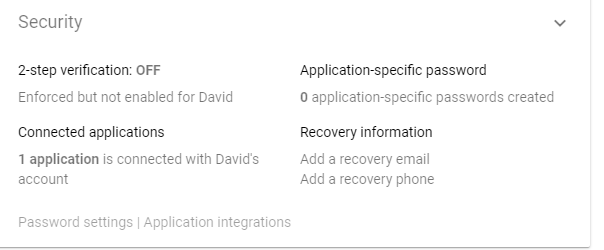
So, that should be enforcing 2FA for all our users, which is so far just me and my brother. Except he probably didn’t set up 2FA when I told him he could log in earlier so he’s probably being locked out right now. To fix that, Admin > directory > Users and click on his name and I can see that he does not have 2FA enabled and also he has no recovery options.
When I go to edit this (the down arrow on the top right opens the panel up) I see that only the user can enable 2FA.
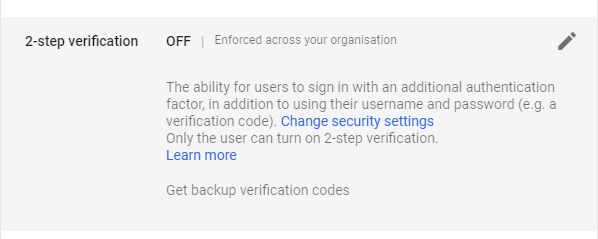
I suspect that the next time he logs in he will be forced to do that so I’ll leave this for now and see what happens. It might be I need to add a recovery email address and/or phone number as he hadn’t set those yet either.
Once he is set up with 2FA I will also make him a super admin. This is important as if something happens to me I want him to be have full access to everything in the business. Also if I lose my phone he can also reset my password. I’m always trying to avoid a single point of failure in our business.